Our Process
Here's exactly what happens when you book a detail with us — step by step, no fluff. Based in Hood River, serving the Columbia Gorge.

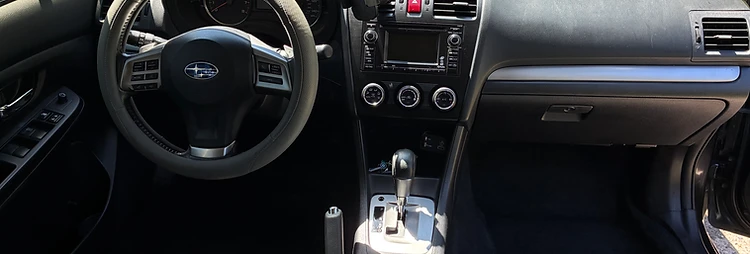
Interior Detail
Our Interior Detail Service begins by using compressed air and a Tornador tool to blow out dust, dirt, and debris from hard-to-reach areas, working from the trunk toward the front of the vehicle. This helps remove buildup from areas that are often missed during a normal cleaning.
- 01
Air & Tornador Blow-Out
We use compressed air and a Tornador tool to blow out dust, dirt, and debris from hard-to-reach areas, working from the trunk toward the front of the vehicle. This removes buildup from areas that are often missed during a normal cleaning.
- 02
Deep Vacuum & Extraction
After loosening the debris, we thoroughly vacuum the entire interior, including carpets, seats, floor mats, and hard-to-reach areas. Any remaining stains or heavily soiled areas are treated with a drill brush and wet vac extractor to deep clean and remove embedded dirt.
- 03
Odor Treatment
For vehicles with unwanted odors, we use a combination of deep cleaning and odor treatment methods to help reduce smells trapped within carpets and upholstery. The extractor helps remove the source of many odors, while additional odor treatments can be applied to freshen the interior.
- 04
Surface Restore & UV Protect
Finally, we restore and clean rubber floor mats, wipe down all interior surfaces, and apply Protectant to appropriate plastic, vinyl, and rubber surfaces. This provides UV protection to help prevent fading, cracking, and damage from sun exposure while leaving the interior with a clean finish.

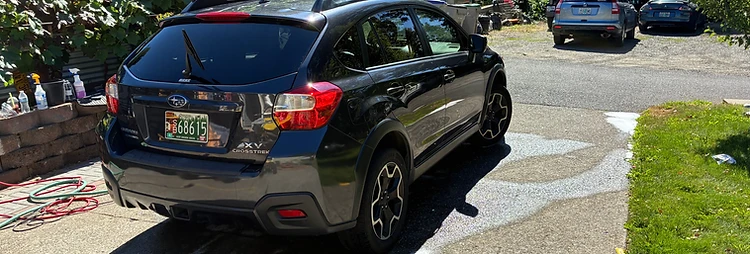
Exterior Wash & Decontamination
A 3-step wash process — pre-wash, contact wash, and clay bar decontamination — engineered to lift and remove dirt without ever grinding it into the paint. Wheels and tires are cleaned and dressed with a tire shine that lasts 2-3 months. Every step is designed to prevent swirl marks and scratches before any protection or correction work begins.
- 01
Pre-Wash & Wheels
I apply a pre-wash to the entire vehicle and let it dwell to loosen dirt and grime. While it's soaking, I spray a dedicated wheel and tire cleaner on the wheels and tires. After the pre-wash has had time to work, I thoroughly rinse the entire vehicle. This removes as much dirt and debris as possible before touching the paint, helping prevent swirl marks and scratches.
- 02
Contact Wash
Next is the contact wash. I use the 3-bucket wash method to safely remove any remaining dirt while minimizing the chance of scratching or damaging the paint.
- 03
Iron Removal & Clay Bar
Once the vehicle is clean, I apply an iron remover to break down embedded contaminants that washing alone can't remove. After that, I use a clay bar to remove the remaining bonded contamination, leaving the paint smooth, clean, and ready for either an SiO₂ spray sealant or a paint correction.
- 04
Tire Shine & Trim Dressing
To finish, I apply a long-lasting tire shine that holds up for 2-3 months and dress the exterior trim for a clean, even finish.
Coming Soon
Paint Correction
I'm still practicing this one and will offer it soon. Stay tuned.
Ceramic Coating
I'm still practicing this one and will offer it soon. Stay tuned.
Ready to Book?
Pick a day and time, then pay by card or in person — whatever works for you.
Book a Detail →